Right, time to get myself organised. My new academic year resolution is to blog every week and I'm in the process of writing blog posts for the next few weeks to get ahead! The last couple of months have been soooo busy with Christmas design team makes, Vintage Christmas, Create a Card Dies, and Classique Christmas Dies from Crafters Companion.
Today I'm sharing some of my Create a Card Christmas Samples. I love working with these dies. It's so easy to make quick and simple cards that look fantastic but you can really take your projects to the next level too.
This card is a simple 8x8 card with dark pink coredinations card embossed with the softly falling A4 embossing folder from the Vintage Christmas Embossalicious range, some Christmas 6x6 backing paper and the die itself cut and embossed in Centura Pearl hint of silver with some pink memeto ink picking out the detail.
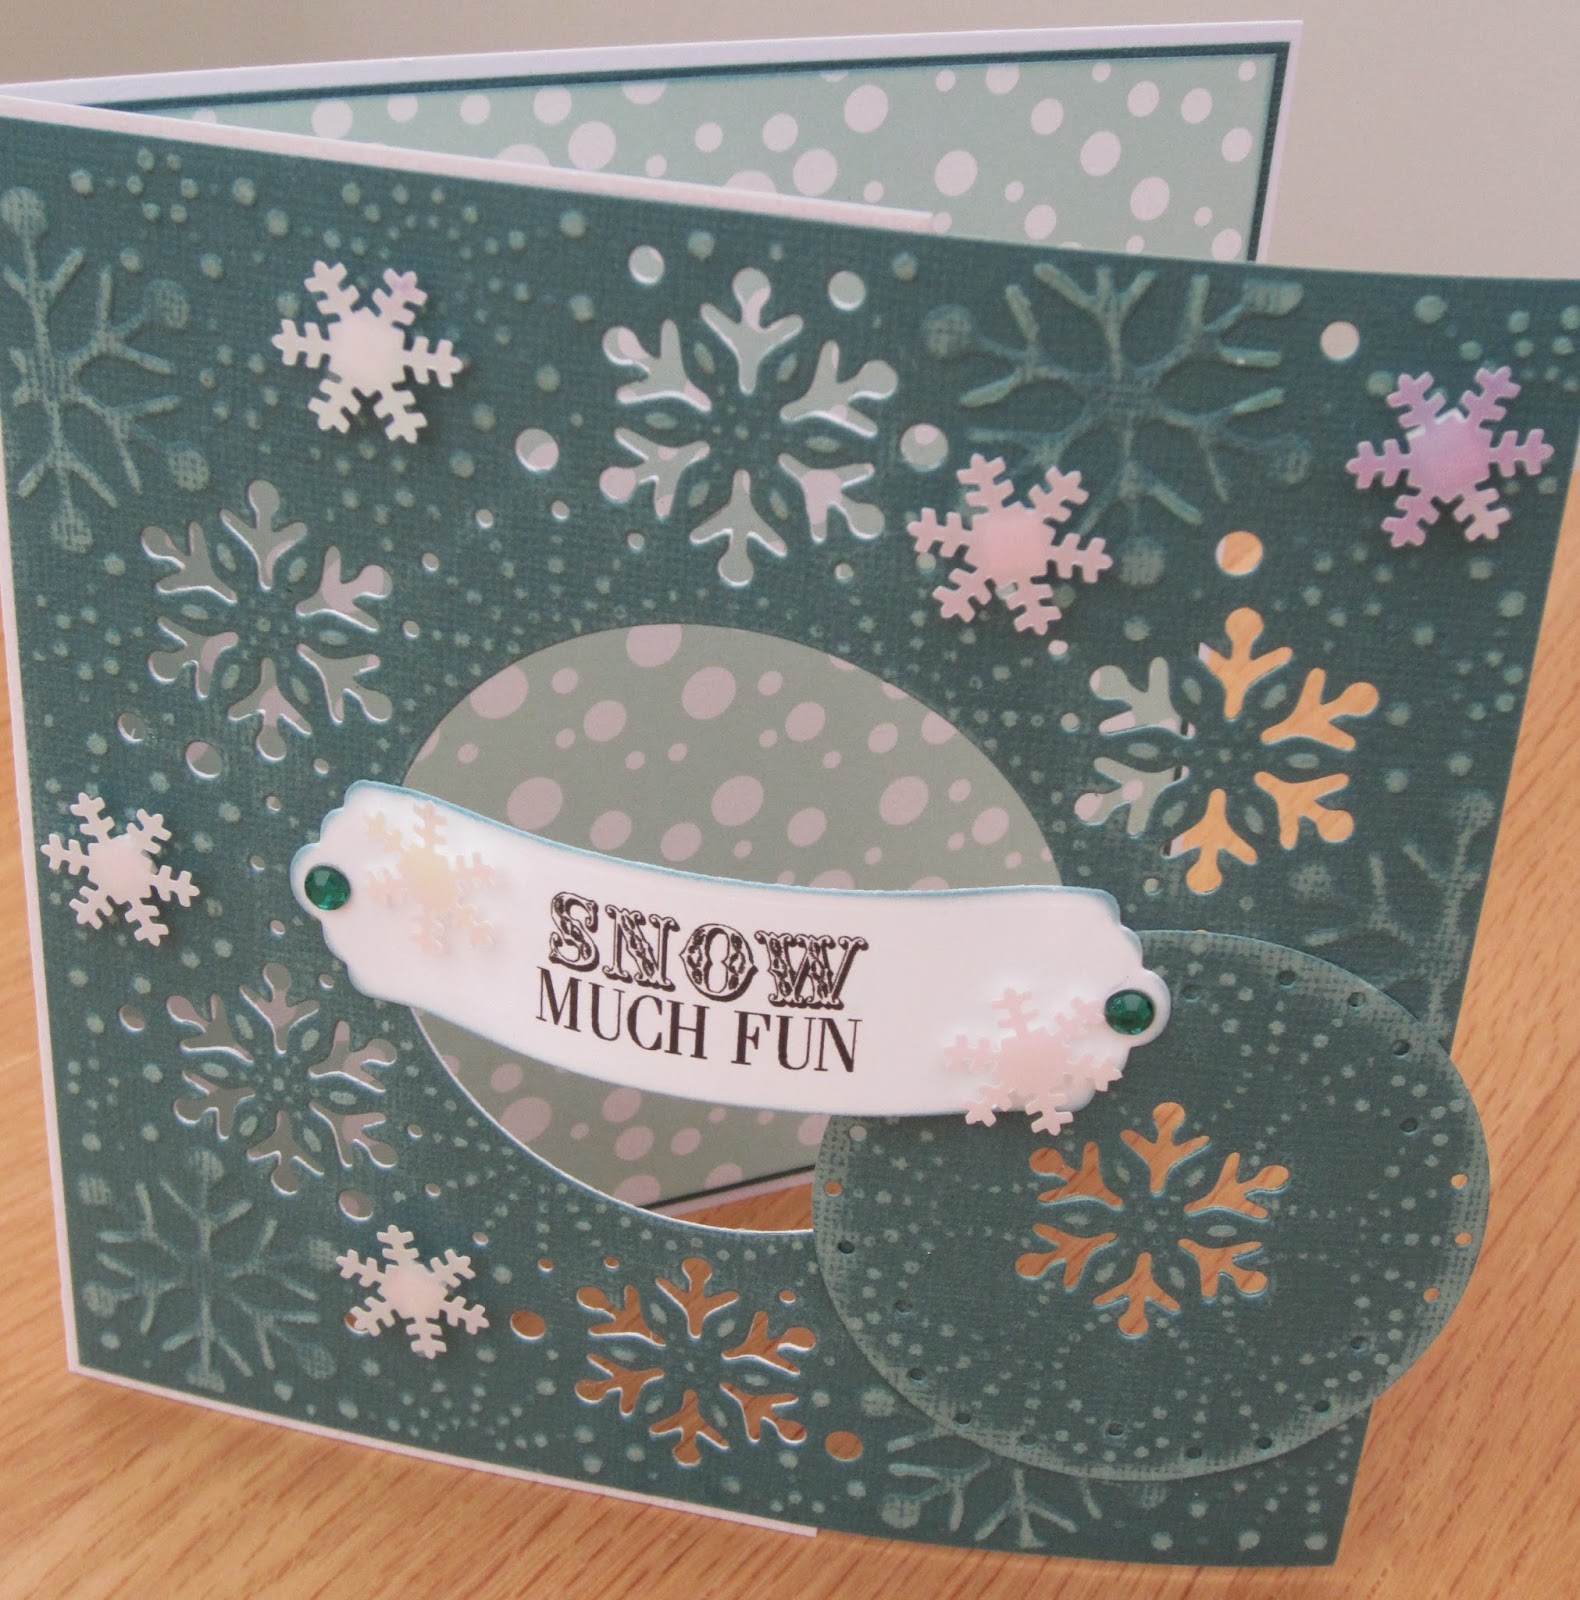
Using the same die but a completely different colourway this card is more 3D with the sentiment arched across the centre of the aperture. It is a 6x6 card blank with the front die cut as well as the cardstock so you can see through to the inside of the card. The inside is covered with co-ordinating backing paper and matted on the same colour as the front.
This card is my favourite of all the samples I made. It uses the same die but takes it to the next level. The front is relatively simple, a 6x6 card blank matted and layered with a pale blue and a contemporary backing paper with the die cut out and attached to the front with 3D glue gel. Before removing the card from the die I dabbed the surface with embossing ink and then once the die was removed covered with silver embossing powder and heat embossed. I also added some glitter glue for extra sparkle.
On the inside I cut a strip of card 12 x 6 inches and scored at 3, 6 and 9 inches. I then lined up the die in the centre section and cut and embossed. The outside panels were then embossed with the softly falling embossing folder. I lined the inside of the card with a matching piece of backing paper, again 6x6, scoring down the middle first. I then folded the embossed and die cut piece as shown above and attached either end to the edges of the card with tacky glue.
Hope you like them, more to come in the next few days.....
Becky x


No comments:
Post a Comment