Just a quick post today to announce the winner of my blog competition. Congratulations to Maria Alder a bebunni stamp will be winging its way to you very soon. ( Please could you email me your address so I can get it sent out, the craftyskylark@hotmail.co.uk, thank you!)
I'll be back in the next few days with instructions for my k card.
Take care
Becky
Thursday, 30 October 2014
Monday, 27 October 2014
Crafters Companion Birthday Giveaway!!
Morning Everyone,
Its been a busy birthday week at Crafters Companion with lots of giveaways and fab new products. Below are some of my samples from the new create a card shows but before we get to that I have a little giveaway for you too, Exciting!!
Anyone who comments on this blog post before midnight Wednesday 29th October (UK time) will be in with a chance of winning a Bebunni Celebration Stamp Set. (Open to all over 18 residents of UK, Austria, Belgium, Denmark, France, Germany, Luxembourg, Netherlands, Republic of Ireland, Switzerland, Cyprus, Czech Republic, Finland, Gibralta, Greece, Italy, Malta, Norway, Portugal, Spain and Sweden.)
Now for the samples, I used the Birthday Star and Cupcake (Birthday Cake) Create a Card Dies. As always they're a dream to work with and open up so many ideas. If anyone wants instructions for the K Card that Sara showed on create and craft let me know.
Birthday Cake Twisted Easel Card
Birthday Cake Trifold Square Card
Birthday Cake 8x8 Fold out Card (see below)
Birthday Star Football Theme Card - idea to colour theme to whichever team is appropriate
Birthday Star Easel Card
K Card - 8x8 swing card (inside above, front below)
Hope you like all the samples and look forwards to hearing all your comments for the giveaway!!
Take Care
Becky xx
Sunday, 21 September 2014
3 New Create a Card Dies on Create and Craft TODAY at 12pm!!
Morning everyone,
Just in time for the 12pm show, thought I'd share one of each of my samples for the launch of the new Create a Card dies from Crafters Companion.
They are all gorgeous, and so easy to use, you definitely NEEEEEED them!!
Over the Rooftops (7x7 Tent Card)

Christmas Village (Acetate Stepper Card)


Just in time for the 12pm show, thought I'd share one of each of my samples for the launch of the new Create a Card dies from Crafters Companion.
They are all gorgeous, and so easy to use, you definitely NEEEEEED them!!
Over the Rooftops (7x7 Tent Card)
Christmas Village (Acetate Stepper Card)
Christmas Wreath (7x7 cut out card)
Right, time for the show, ENJOY!!!
Becky x
Sunday, 14 September 2014
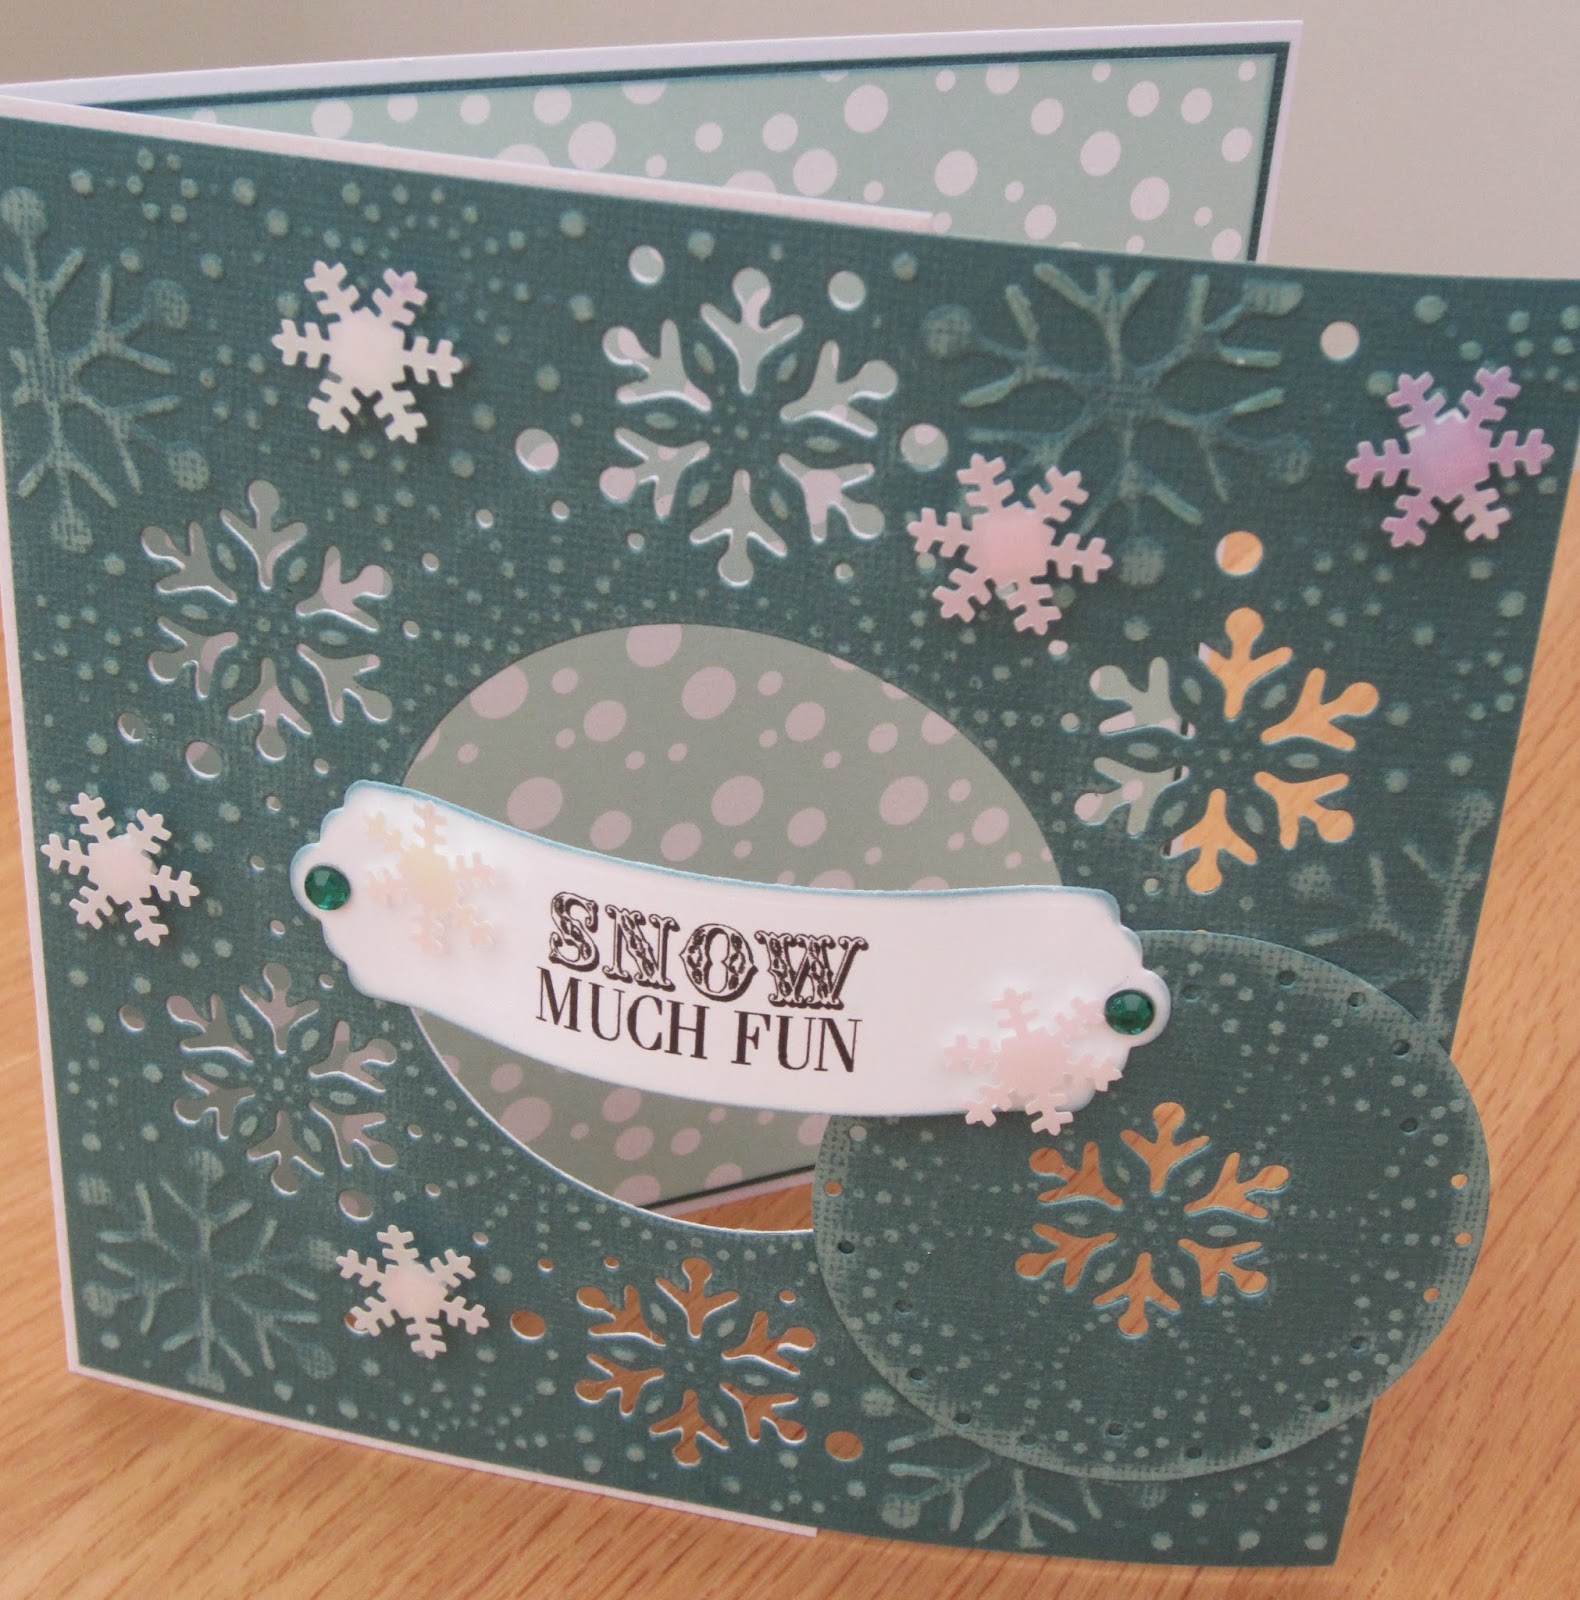
Ring Out Those Bells!
Hi Everyone,
Last of my Crafters Companion Create a Card samples today, Ring out those Bells. This die is stunning and I love the embossing. I made two easel cards and a shaped card with this die and I love them all.
The first card is quite contemporary with blues and turquoises. I coloured centura pearl with peacock feather distress ink and Paris dusk memento ink and then assembled into a 6x6 twisted easel card.


The final sample for this die is another easel, but a standard easel this time. Centura Pearl left plain this time with the embossed highlights brought out in Northern Pine Memento Ink. The background of the easel is embossed with the embossalicious 8x8 vintage holly embossing folder. I then used the oval cut out and sentiment from the vintage Christmas sentimentals as a stopper for the easel.

Hope you like them, Classique Christmas samples next week!!
Becky x
Last of my Crafters Companion Create a Card samples today, Ring out those Bells. This die is stunning and I love the embossing. I made two easel cards and a shaped card with this die and I love them all.
The first card is quite contemporary with blues and turquoises. I coloured centura pearl with peacock feather distress ink and Paris dusk memento ink and then assembled into a 6x6 twisted easel card.
The next card is really simple, but one of my favourites. I used a shaped card and positioned the die carefully so that most of it was cutting. I inked through the die to highlight the beautiful embossing. The inside of the card is lined with backing paper and the Oval from the centre of the die sits behind the opening. The sentiment is die cut with scalloped tags dies and comes from the Vintage Christmas sentimentals.
The final sample for this die is another easel, but a standard easel this time. Centura Pearl left plain this time with the embossed highlights brought out in Northern Pine Memento Ink. The background of the easel is embossed with the embossalicious 8x8 vintage holly embossing folder. I then used the oval cut out and sentiment from the vintage Christmas sentimentals as a stopper for the easel.
Hope you like them, Classique Christmas samples next week!!
Becky x
Thursday, 11 September 2014
O Holy Night
Good Evening Everyone,
Hope you're all having a fantastic week. I've got some more Christmas Create a Card Die Samples to share with you today. I love working with these dies, so quick and easy and yet you can achieve amazing results!!

From Crafters Companion, O Holy Night Create a Card Die is one of my favourites, it is such a striking image and makes making cards so easy. I have used Kraft Card here and some Core'dinations for the frame and background. The inside of the card is embossed with the Embossalicious Vintage Music A4 Embossing Folder and lightly sanded. I have inked through the die before removing the card with Tim Holtz Brushed Corduroy Distress Ink. The sentiment comes from the vintage Christmas Sentimentals.

This card uses the same die but using Centura Pearl and making a domed front by leaving 2cm of card on either side of the cut out image. I then cut a piece of card the same height as the image but 2 cm shorter in width so it creates the dome. I added acetate sprayed with gold spray and sparkle to the back of the die cut and then assembled the dome using Collall Tacky Glue. This is then mounted onto a 6x6 Card Blank. The sentiment again comes from the Vintage Christmas Sentimentals.
I hope you like them, more to come next week!
Becky x
Friday, 29 August 2014
Time to get Organised!
Hi Folks.
Right, time to get myself organised. My new academic year resolution is to blog every week and I'm in the process of writing blog posts for the next few weeks to get ahead! The last couple of months have been soooo busy with Christmas design team makes, Vintage Christmas, Create a Card Dies, and Classique Christmas Dies from Crafters Companion.
Today I'm sharing some of my Create a Card Christmas Samples. I love working with these dies. It's so easy to make quick and simple cards that look fantastic but you can really take your projects to the next level too.

 This card is my favourite of all the samples I made. It uses the same die but takes it to the next level. The front is relatively simple, a 6x6 card blank matted and layered with a pale blue and a contemporary backing paper with the die cut out and attached to the front with 3D glue gel. Before removing the card from the die I dabbed the surface with embossing ink and then once the die was removed covered with silver embossing powder and heat embossed. I also added some glitter glue for extra sparkle.
 On the inside I cut a strip of card 12 x 6 inches and scored at 3, 6 and 9 inches. I then lined up the die in the centre section and cut and embossed. The outside panels were then embossed with the softly falling embossing folder. I lined the inside of the card with a matching piece of backing paper, again 6x6, scoring down the middle first. I then folded the embossed and die cut piece as shown above and attached either end to the edges of the card with tacky glue.
Hope you like them, more to come in the next few days.....
Becky x
Right, time to get myself organised. My new academic year resolution is to blog every week and I'm in the process of writing blog posts for the next few weeks to get ahead! The last couple of months have been soooo busy with Christmas design team makes, Vintage Christmas, Create a Card Dies, and Classique Christmas Dies from Crafters Companion.
Today I'm sharing some of my Create a Card Christmas Samples. I love working with these dies. It's so easy to make quick and simple cards that look fantastic but you can really take your projects to the next level too.
This card is a simple 8x8 card with dark pink coredinations card embossed with the softly falling A4 embossing folder from the Vintage Christmas Embossalicious range, some Christmas 6x6 backing paper and the die itself cut and embossed in Centura Pearl hint of silver with some pink memeto ink picking out the detail.
Using the same die but a completely different colourway this card is more 3D with the sentiment arched across the centre of the aperture. It is a 6x6 card blank with the front die cut as well as the cardstock so you can see through to the inside of the card. The inside is covered with co-ordinating backing paper and matted on the same colour as the front.
Hope you like them, more to come in the next few days.....
Becky x
Monday, 16 June 2014
Vintage Florals Take 1!
Evening Everyone!
Bit later than planned but here are some of my Vintage Floral Samples using the gorgeous embossing folders, paper pad, CD and stamps from Crafters Companion.


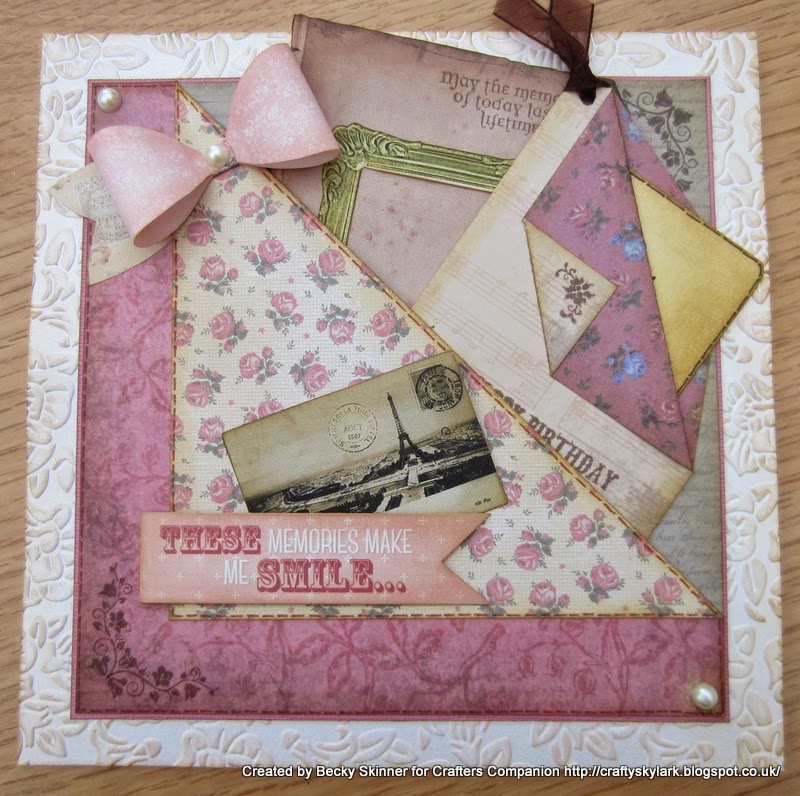 Loved making these samples, the papers and embellishments on the CD do all the work for you and the embossing folders as always are to die for!!
Back soon with more
Becky x
Bit later than planned but here are some of my Vintage Floral Samples using the gorgeous embossing folders, paper pad, CD and stamps from Crafters Companion.
Back soon with more
Becky x
Subscribe to:
Posts (Atom)